Nail art has been around for centuries—ancient Egyptians and Chinese used mineral pigments to tint their nails as symbols of status and wealth. But complex, long-lasting nail art was nearly impossible until modern polymer technology arrived. That changed dramatically when a dentist inadvertently kickstarted the nail sculpting industry by repairing his broken fingernail with dental acrylic. Today, gel systems have evolved into an art form, offering low odor, incredible durability, and quick curing under UV or LED lamps.
Unlike traditional nail lacquer, gel hardens through a chemical process that creates cross-linked polymers directly on your nail. This not only eliminates drying time but also allows for a much broader range of functional ingredients—making gels far stronger and more versatile than conventional polish. Whether you’re painting intricate designs or applying a simple, natural pink manicure, gel gives you unmatched control and longevity.
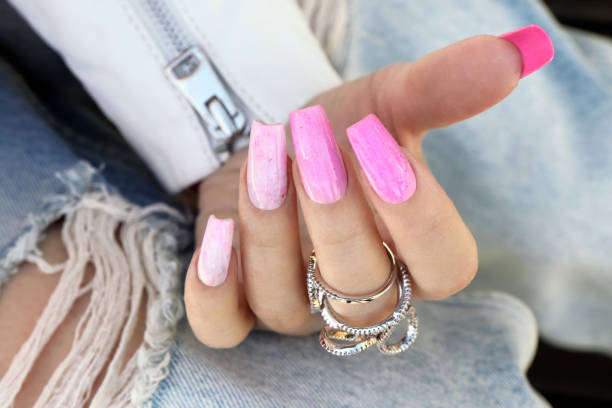
Choosing the Right Gel for a Natural, Pink Finish
To get that soft, natural pink effect, selecting the right gel polish is essential. Semi-translucent polishes in delicate shades work best. Look for sheer pinks, milky whites, subtle nudes, or muted beige tones. Highly pigmented, opaque polishes will look artificial. Sheer formulas allow your natural nail bed to peek through, creating a “your nails but better” finish.
Products labeled as jelly, syrup, or sheer gel polishes are particularly good for this effect. You can easily control the opacity from one thin coat for a barely-there wash of color, to two or three layers for a more pronounced, glossy pink. A soft, milky pink or rosewater shade is ideal for achieving that polished, natural elegance.
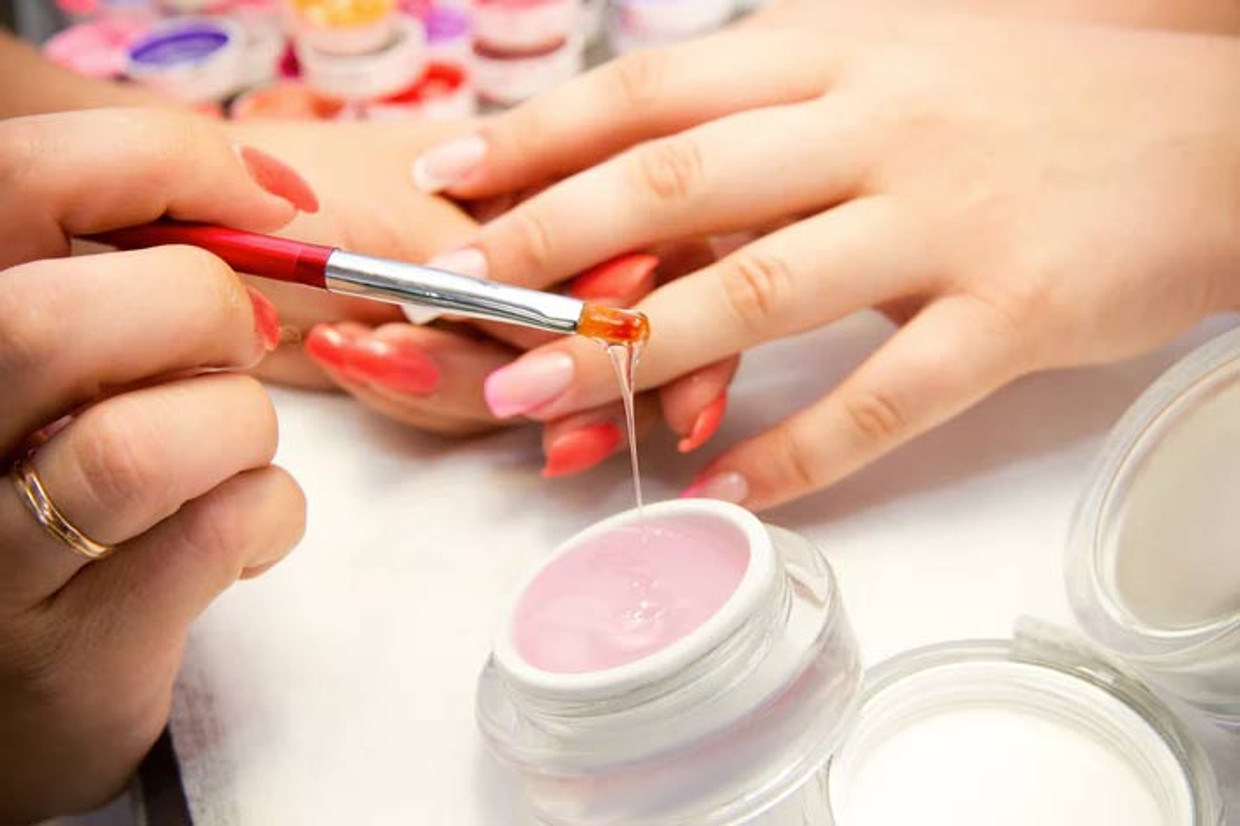
Essential Products for a Flawless Gel Manicure
Achieving professional-looking gel nails requires a core set of products. Make sure you have:
- Gel Base Coat: The foundation that adheres to your natural nail, creates a smooth canvas, and prevents staining.
- Gel Color Coat: Your chosen sheer pink or nude polish. Choose high-quality brands known for good pigmentation and long-lasting wear.
- Gel Top Coat: Seals everything in, adds a glossy (or matte) sheen, and protects against chipping. A “no-wipe” top coat is great because it cures without a sticky residue.
- UV or LED Lamp: Essential for curing. LED cures in 30-60 seconds, UV takes around two minutes per layer.
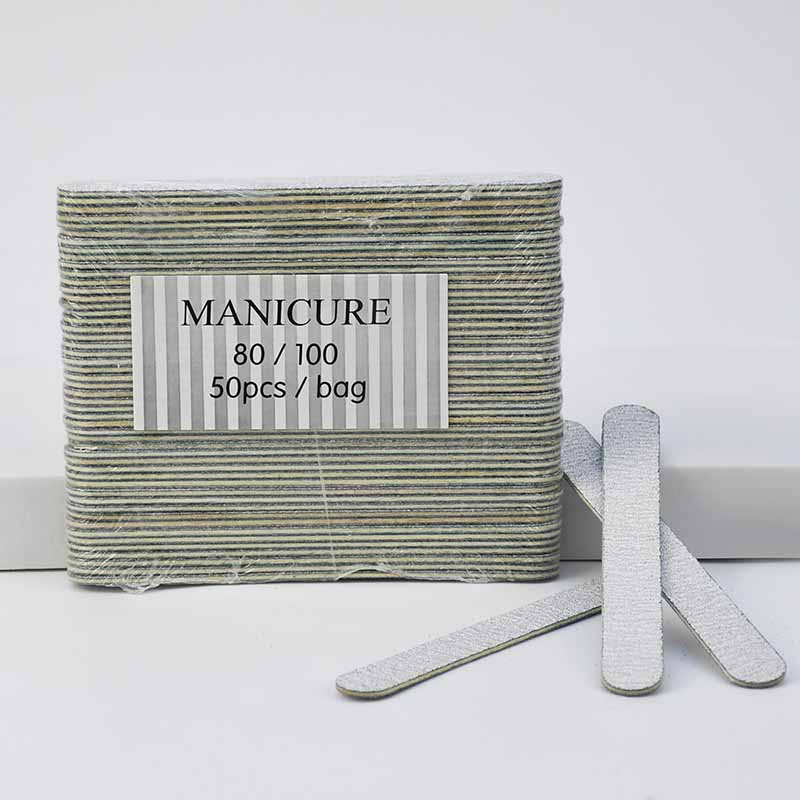
- Preparation Tools: Nail files and buffers to shape the nail and remove shine, a cuticle pusher, and lint-free wipes with a cleanser or alcohol to dehydrate the nail plate.
- Cuticle Oil: To hydrate and nourish your nails after the manicure is finished.

Key Application Tips for a Perfect, Natural Pink Manicure
1. Prep, Prep, Prep. Proper preparation is everything. Gently push back your cuticles, lightly buff the nail surface to remove the natural shine, and cleanse with alcohol to remove all oils and dust. This creates a clean, slightly textured canvas for the gel to grip.
2. Work in Thin Layers. Always apply your base coat, color, and top coat in thin, even layers. Thick layers won‘t cure properly under the lamp and will peel or chip much faster. If you’re using a sheer pink, you may only need two thin coats for the perfect level of natural coverage.
3. Cap the Free Edge. After each layer (base, color, and top coat), run your brush along the very tip of the nail to “cap” the edge. This seals the manicure and is the single most important step to prevent premature peeling and chipping.
4. Cure Fully Between Coats. Cure each coat according to your lamp’s instructions. Gel polish pools, smudges, or lifts when it‘s not fully cured. Be patient and ensure each layer is properly set before moving on to the next.
5. Seal with Cuticle Oil. After your top coat is cured and you’ve wiped away any sticky inhibition layer, massage cuticle oil into your nails and surrounding skin. This hydrates the area, prevents brittleness, and gives your manicure a beautiful, healthy-looking finish.
Read also: The Complete Guide to Builder Gel: Strength, Length, and Flexibility Combined