So, you’ve got a nail drill (or you’re thinking about getting one) – that little tool that promises salon-perfect nails at home. It’s incredibly powerful for shaping, filing, and prepping nails, but let’s be honest, it can also feel a bit intimidating! Don’t worry. Used correctly, it’s a game-changer. Let’s break down the essential techniques and safety must-knows in plain English.
What Exactly is a Nail Drill?
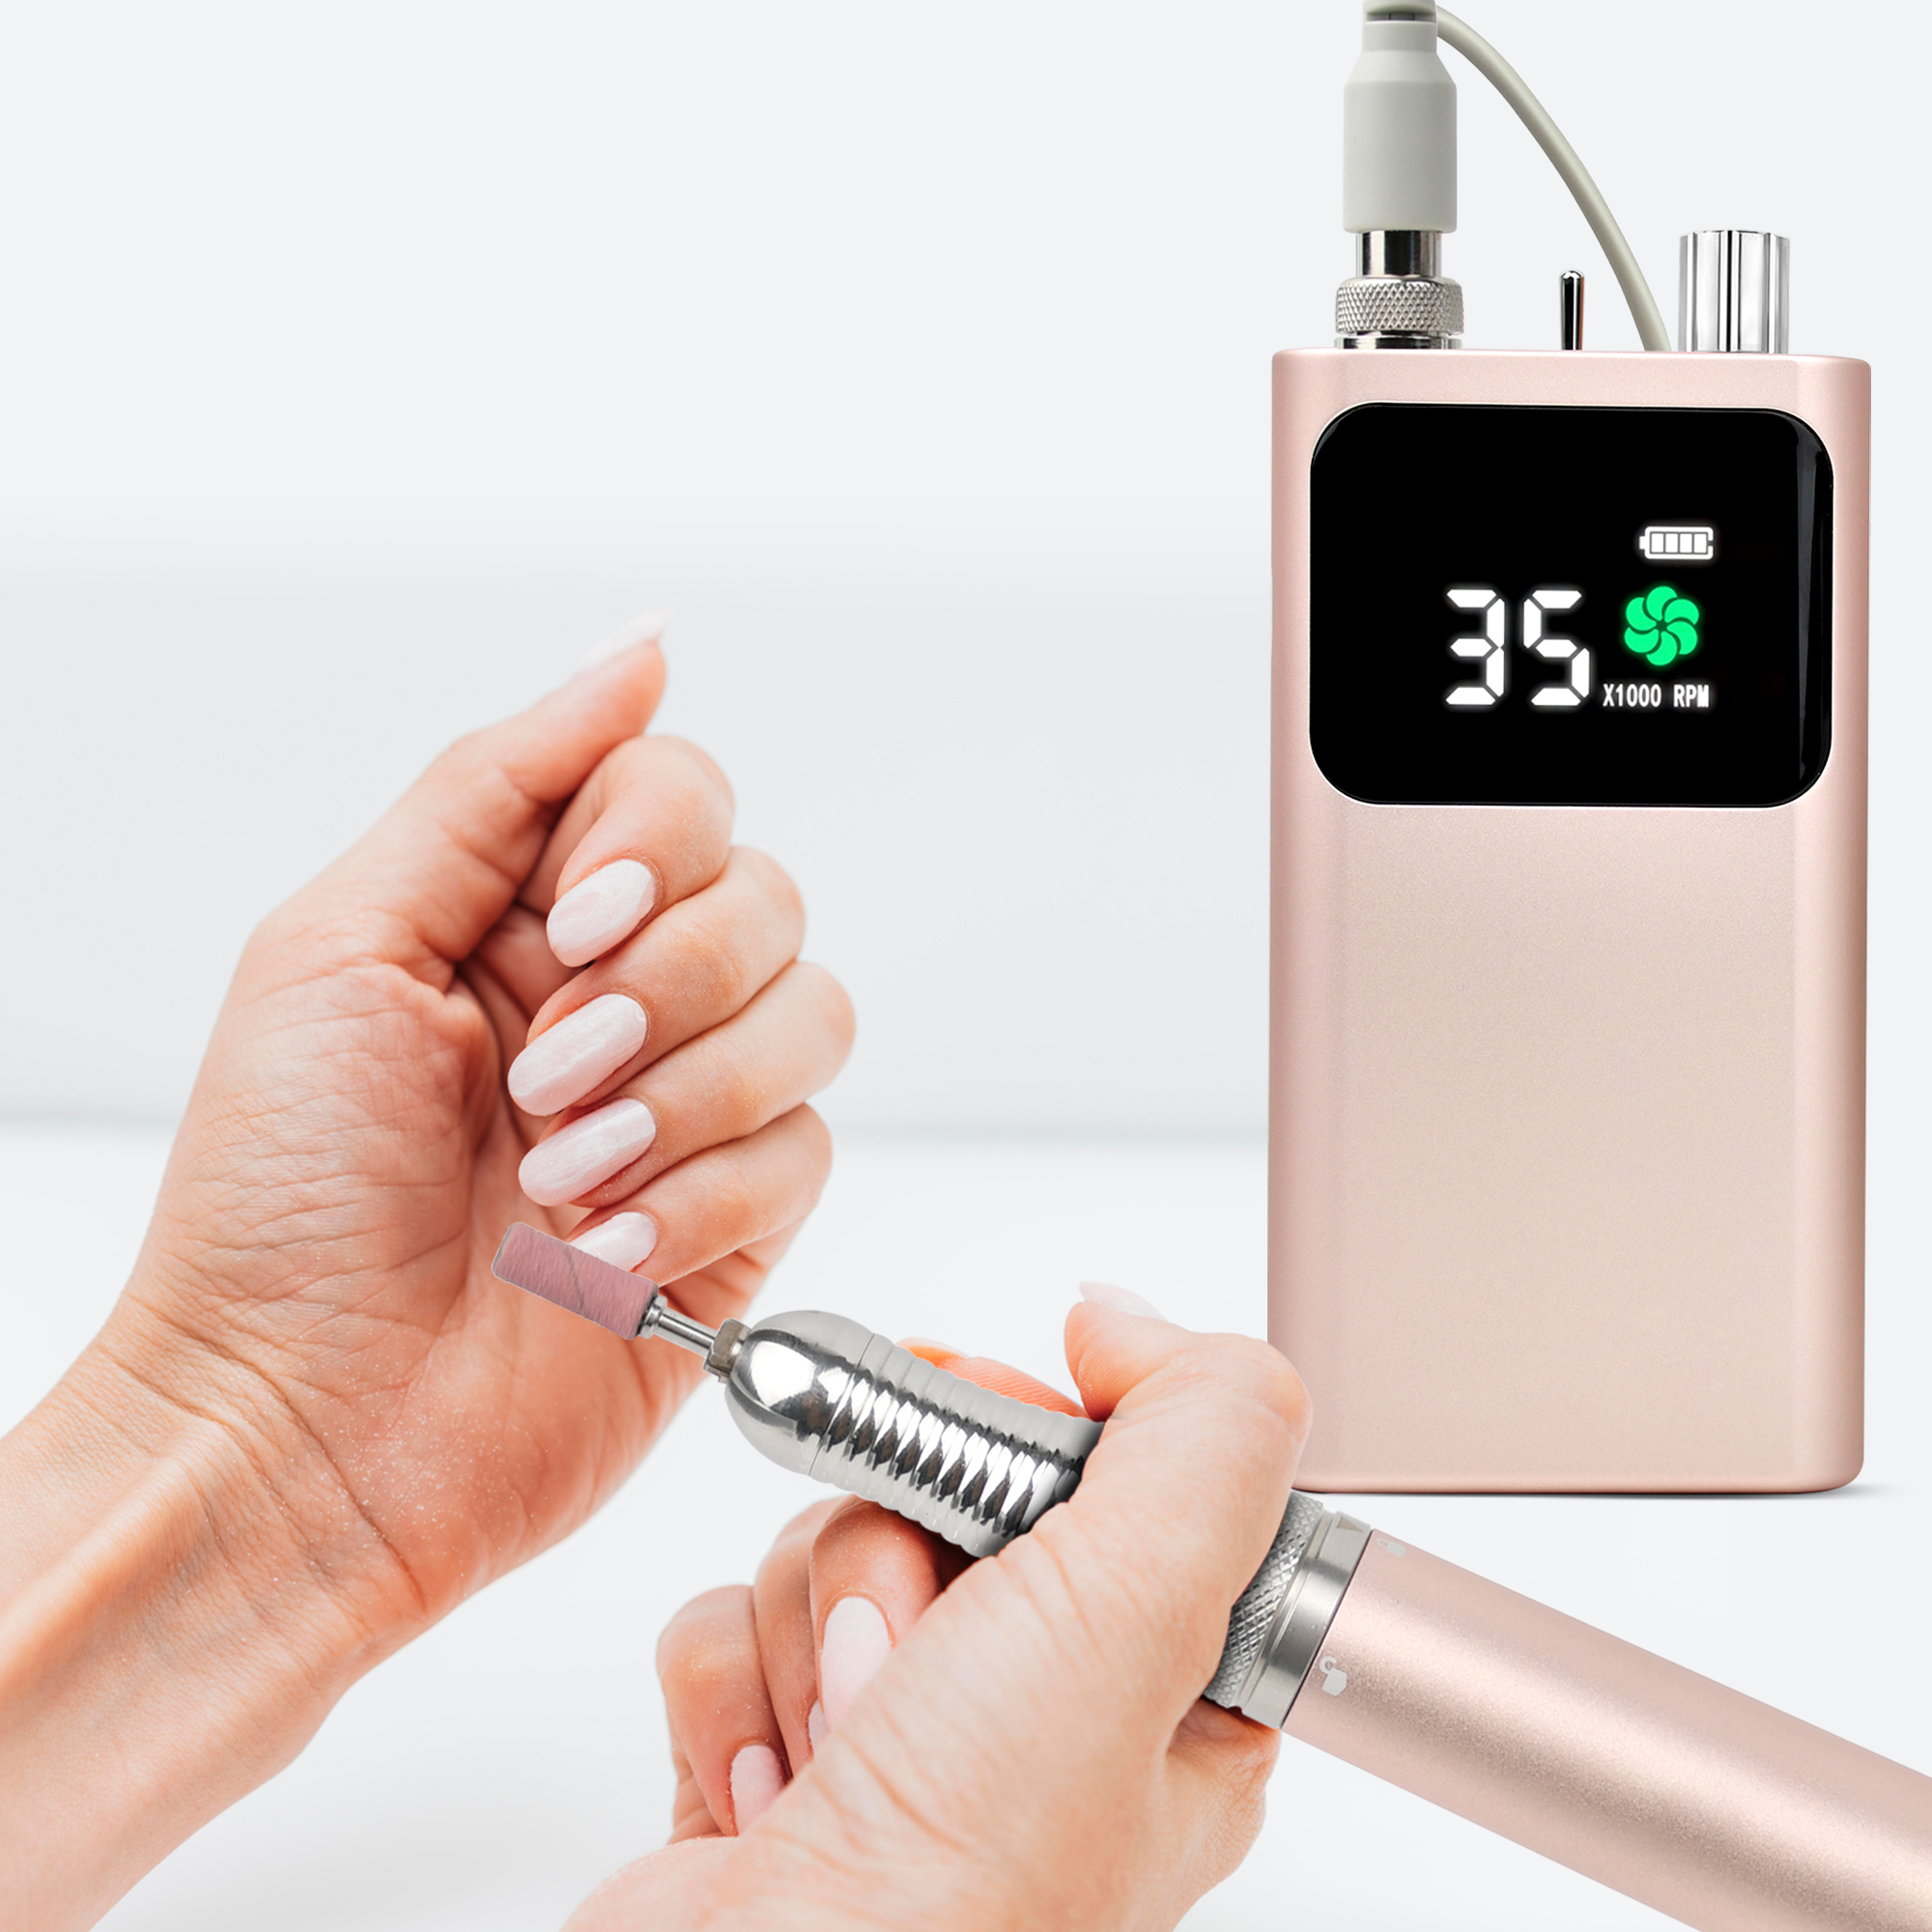
Think of it as a mini power tool for your nails. It has a motor that spins a small bit (the attachment) at different speeds. You use different bits for different jobs: removing old polish/gel, shaping the nail, tidying cuticles, or buffing.
Getting Started: Safety First!
Before you even plug it in, remember this: A nail drill machine is powerful. Respect it.
1. Sanitize, Sanitize, Sanitize! This is non-negotiable. Bits MUST be cleaned and disinfected before AND after every use, even if it’s just on yourself. Use a proper disinfectant solution and follow the soak time instructions. Wiping isn’t enough! Dirty tools spread infections.
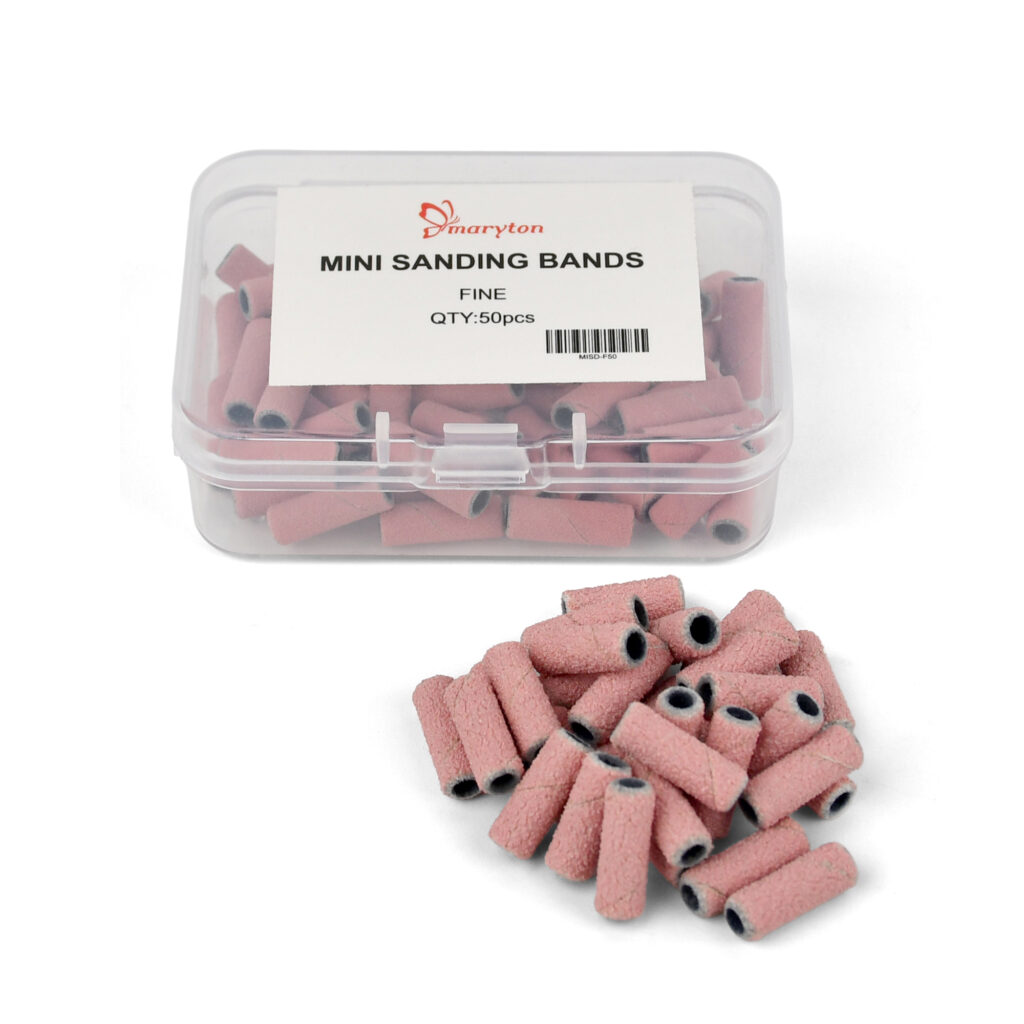
2. Know Your Bits: Bits come in countless shapes (cone, cylinder, flame, barrel, sanding bands) and materials (metal carbide, ceramic, diamond grit, sanding). Crucially, they also come in different grits:
- Coarse Grits (80-150): For very fast removal of hard gel or acrylic. DANGER ZONE for beginners! Easy to damage the natural nail badly. Avoid these until you’re super experienced.
- Medium Grits (180-240): Good for general shaping of artificial nails or removing bulk. Still needs caution.
- Fine Grits (280-400+): SAFEST for beginners and natural nails. Use for light filing, smoothing ridges, buffing, and gentle cuticle work (with specific bits).
3. Speed is NOT Your Friend (At First): Drills have adjustable speeds, often measured in RPM. Always start LOW. Seriously, 5,000-10,000 RPM is plenty for most beginner tasks. High speed = more friction = heat = pain and damage. You can gradually increase slightly only if needed and if you’re comfortable, but low speed is safer and gives you more control.
4. Light Touch is Key: This isn’t sanding wood! Let the drill bit do the work. Gently rest the bit on the nail surface. Pressing hard doesn’t make it faster; it creates heat, causes painful friction burns, damages the nail plate, and makes the bit skip uncontrollably.
5. Direction Matters: For filing/shaping, move the drill bit with the direction of rotation. Moving against it can cause the bit to grab and jerk, leading to injury. For buffing/polishing, direction is less critical.
6. Protect Your Skin: NEVER let a spinning drill bit touch your skin, especially at high speed. It will cut you instantly and badly. Be extra careful around the delicate cuticle and sidewall areas. Use cuticle bits specifically designed for this and work slowly and precisely. If you’re removing product near the cuticle, point the drill bit away from the skin.
Basic Techniques Made Simple:
1. Removing Gel/Soak-Off Polish:
- Bit: Fine/Medium Sanding Band (e.g., 180/240 grit) OR a fine-grit carbide bit designed for removal (e.g., a flame bit in 180 grit).
- Technique: LOW speed! Gently glide the bit flat across the nail surface, focusing on the center. Goal is to remove the shiny top layer and thin the product, NOT grind down to your natural nail. Stop well before you reach the natural nail. Leave a thin layer for acetone soaking to remove safely.
- Precaution: Constantly check your progress. Apply zero pressure. Feel the heat – if the nail feels warm, STOP immediately.
2. Shaping Artificial Nails (Acrylic/Gel):
- Bit: Medium grit carbide bit (e.g., barrel or cone in 180 grit) for bulk removal, switching to a finer grit (e.g., 240) for refining.
- Technique: Start at medium-low speed. Use the side of a barrel bit or the edge of a cone bit. Move the bit along the free edge (tip) of the nail to shorten, and along the sides to refine the shape. Keep the drill moving – don’t stay in one spot. Finish shaping with a hand file for precision.
- Precaution: Avoid the natural nail near the cuticle. Be mindful of the angle so you don’t nick the skin. Constantly check the shape visually.
3. Cuticle Cleanup:
- Bit: ONLY use fine-grit (400+) safety bits (often ceramic or diamond-coated with rounded, non-cutting tips) specifically designed for cuticles.
- Technique: VERY LOW speed (like 3,000-5,000 RPM). Use the rounded tip gently to buff away dead, loose cuticle skin on the nail plate surface. Do NOT dig into the living cuticle fold. This is more about gentle exfoliation than cutting.
- Precaution: This is an advanced technique. Many pros recommend skipping the drill for cuticles entirely and sticking to manual tools (pusher, nipper) unless you are highly trained.
4. Buffing Natural Nails:
- Bit: Very fine sanding band (e.g., 400+ grit) or a dedicated buffing bit (often soft foam or fine grit).
- Technique: Low speed. Lightly glide the bit over the nail surface to smooth minor ridges or create a shine before polish.
- Precaution: Buffing removes layers of your natural nail. Do it sparingly (once a month max) and very gently. Over-buffing weakens nails.
Golden Rules Recap:
- Clean Bits Religiously: Before and after every use.
- Start Low & Slow: Speed control is safety control.
- Feather Light Touch: Pressure = Pain & Damage.
- Respect Grits: Stick to Fine/Medium for naturals; Coarse only for pros on artificials.
- Skin is OFF-LIMITS: Drill bits cut skin instantly.
- Know Your Rotation: Move with it for filing.
- Heat is Your Enemy: If the nail feels warm, STOP.
- Practice Makes Perfect: Start on a practice tip or an old set of nails before working on your good hand or a client.
- When in Doubt, Hand File: If a task feels risky with the drill, use a manual file. It’s slower but safer.
Mastering the nail drill takes patience and practice. By prioritizing safety, starting simple, and respecting the tool’s power, you can unlock its potential for beautiful, well-maintained nails without the ouch factor.
Read also: The Art of Choosing the Perfect Mother’s Day Gift